
Ruins of Dawn Gear Tiers
T1 through T3 equipment progression — map sources, stat jumps, and forging decisions across preview content.
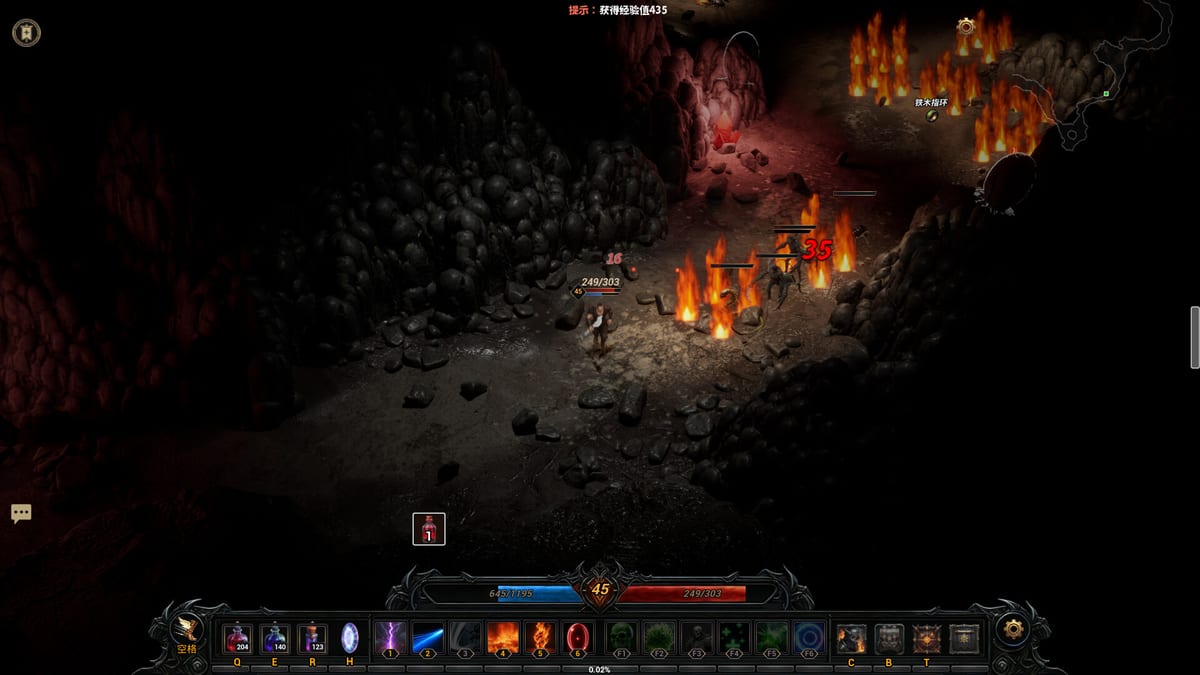
Gear in Ruins of Dawn scales through equipment tiers that raise base stats, affix ceilings, and drop requirements as you push maps. Preview players report a clear T1 → T2 → T3 ladder tied to zones like the starting village, Orc woodland (兽人林地), and Bear Valley (熊怪谷) with its T3 content update. This page explains when each tier matters, how tiers interact with /5 affix fractions, and why forging still beats raw tier color — essential reading alongside Items, Forging builds, and Updates ahead of August 14, 2026.
Tier names are community shorthand aligned with demo observations; official patch notes may use different labels even when mechanics persist.
Tier Overview Table
| Tier | Typical zones (community-reported) | Gear role | Forging priority |
|---|---|---|---|
| T1 | Starting village, tutorial adjacency | Learning fractions, first rares | Vendor fodder quickly |
| T2 | Gu Jing village, Orc woodland | Five-affix chassis farming | Quality upgrade + reforge |
| T3 | Bear Valley, Bear King routes | Launch-prep power jump | Inject high fractions from T2 donors |
Track personal tier milestones in the demo tracker when comparing advice across patches.
T1 — First Hours and Fraction Literacy
T1 gear drops in the earliest accessible content. Items here teach core ARPG habits without demanding perfect rolls:
- Affix counts may stay low (magic or early rares).
/5fractions vary wildly — replace pieces often.- Forging material income is thin — avoid reckless extract on irreplaceable pieces.
T1 goal is not best-in-slot — it is learning potion pacing from Controls, testing Warrior, Mage, and Warlock via Classes, and banking your first five-affix rare even if fractions are mixed.
Move outward to T2 zones when elites stop threatening your life pool on normal difficulty.
T2 — Mid Preview Power Band
T2 gear dominates community discussion of Orc woodland and adjacent routes on the Maps hub. Characteristics:
- More consistent five-affix rares suitable for long-term forging.
- Materials for reforge and first quality upgrades appear at usable rates.
- Elites introduce resist checks that Bounties can target.
T2 is where most RuinsofDawnDemo players should execute their first safe crafting loop from Progression:
- Quality-upgrade one five-affix chest or weapon.
- Reforge a single weak line.
- Extract one affix from a duplicate donor (destroying the donor).
- Inject into the upgraded base if compatibility allows.
Do not rush Bear Valley until at least one T2 core shows acceptable /5 on two priority stats — see Affix crafting.
T3 — Bear Valley and Launch Prep
The T3 tier arrived in preview discussions alongside the Bear Valley map update — detailed on Bear Valley and Updates. T3 items raise implicit stats and affix budgets enough to feel like a new gear-check layer:
- Elites in Bear Valley expect T2 forged defenses minimum on normal.
- Bear King drops reportedly include T3 upgrades and skill book candidates.
- Hard difficulty spikes punish under-tier resist profiles — Hard mode.
Critical rule: tier color does not override fractions. A T3 rare with 2/5 on your main stat loses to a T2 5/5 five-affix piece until reforge or inject fixes the line. Tier tells you potential ceiling; fractions tell you current power.
When T3 Matters — Practical Thresholds
Upgrade your farming target to T3 when:
- Normal Orc woodland clears feel trivial with spare potions.
- You need higher base implicits for hard mode attempts.
- Trials or Ruins defensive checks fail despite skill play.
- Co-op partners push Bear Valley while you lag on base stats.
Delay T3 obsession when:
- T2 five-affix cores still have reforge-able weak slots.
- Material reserves cannot fund a quality upgrade after a T3 pickup.
- You have not closed resist gaps flagged by valley elites.
Farming routes shift toward Bear Valley circuits once T3 becomes the median drop you can use.
Forging Interaction Across Tiers
Forging actions apply across tiers with the same risk profile:
| Action | Cross-tier note |
|---|---|
| Upgrade quality | Best on five-affix T2/T3 keepers before inject |
| Reforge | Fix weak /5 lines before tier chasing |
| Extract | Donor destroyed — use T2 duplicates to inject into T3 bases |
| Inject | Neutral affixes (life, resist) preserve class switching value |
Example project: keep a T3 five-affix chest with four strong lines, extract a premium resist from a T2 duplicate ring, inject into the T3 chest, then reforge the remaining weak slot. Full walkthroughs on Forging builds.
Never vendor all T2 five-affix gear when T3 drops — duplicates remain extract fodder until every slot peaks.
Tiers vs Legendaries
Legendaries can appear at multiple tiers with unique procs. Evaluate oranges against forged tiers using fractions, not nostalgia:
- Wear legendaries during learning spikes.
- Replace with forged T2/T3 five-affix sets when every line is a chosen high fraction.
- Stash class-tagged legendaries for Loadouts even if off-meta today.
Preview accounts consistently report DIY forged gear outscaling weak legendaries late — tier transitions amplify that gap when inject plans mature.
Loadouts and Tier Swapping
Community reports describe three equipment loadout sets on the character screen. Tier progression pairs naturally with presets:
- T2 farm kit — Orc woodland circuits and bounty fixes.
- T3 push kit — Bear Valley normal clears.
- Hard kit — extra resist layers before XP-risk content.
See Loadouts for preset workflow. Swap classes freely — neutral tier pieces retain value across Warrior, Mage, and Warlock.
Ticketed Content and Tier Expectations
Endgame systems assume tier-appropriate gear:
- Rift invasions — T2 defensive minimum; T3 smooths hard overlaps.
- Trials — key loss hurts; enter with T2 forged cores at least.
- Ruins — boss-packed; T3 single-target helps Bear King veterans.
- Guarded chests — spike loot without tickets; tier jumps possible on opens.
Progression orders system unlocks relative to tier milestones.
Living Tier Documentation
Ruins of Dawn remains pre-release. Future patches may add T4+ tiers or retune Bear Valley tables. Re-read Updates after Steam news drops. The workflow — fractions first, tier second, forging always — survives number patches even when zone names change.
Use the Class tier list for class-specific farm speed while gearing, and build checklist before quality-upgrading a new T3 five-affix core.
Frequently Asked Questions
Quick answers to the most common questions.
What are T1 T2 T3 gear tiers?
Community shorthand for equipment power bands tied to zones: **T1** early village, **T2** Orc woodland era, **T3** [Bear Valley](/systems/bear-valley/). See [Maps](/systems/maps/).
When does T3 gear matter?
When Bear Valley normal clears, hard mode, or ticketed [Trials](/systems/trials/) demand higher base stats. Fractions still beat tier color — [Items](/gear/items/).
Should I keep T2 gear after T3 drops?
Yes — T2 five-affix duplicates are extract donors for T3 inject projects via [Forging builds](/builds/forging/).
How does forging work across tiers?
Extract from lower-tier duplicates, inject into upgraded T3 keepers, reforge weak lines. Plan on [Affix crafting](/builds/affix-crafting/).
Where do I farm each tier?
T1 starting areas, T2 Orc woodland routes, T3 Bear Valley — [Farming](/guides/farming/) and [Gear tiers](/gear/gear-tiers/) hub details.